Description:
This article will show you how to do the following:
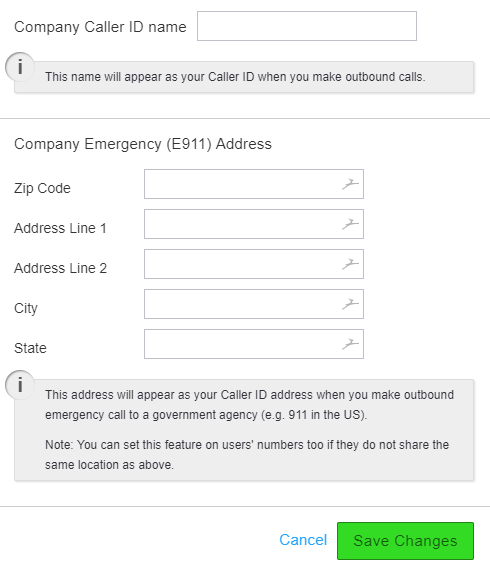
- Set or change the E911 addresses and who is contacted when 911 is called
Note: An updated E911 form will need to be filled out when a user moves to a different location. (Example: When a user is working from home instead of the office)
Methods:
- Login to the Audian Portal.
- Click the 9 square button at the top right of the screen.

- Click on the Smart PBX app.


- Fill out and send in an updated E911 Document to 611@audian.com.
- Login to the Audian Portal.
- Click the 9 square button at the top right of the screen.
- Click on the Smart PBX app.
- Click Numbers.
- Click the Edit icon for phone number to be updated.

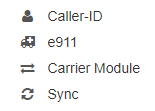
- Select e911.
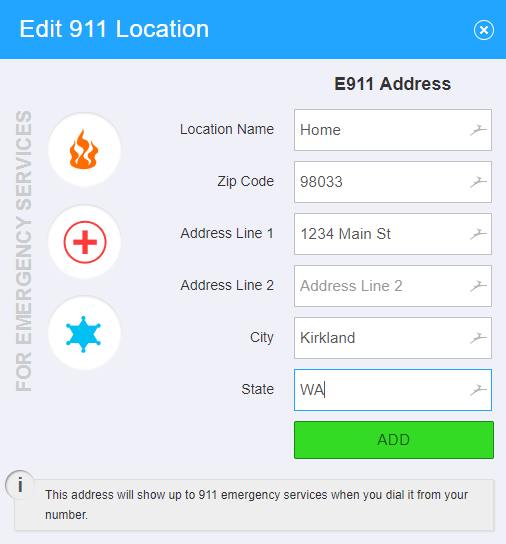
- Enter a Location Name and address, and then click Add.
- Fill out and send in an updated E911 Document to support@audian.com.
- Login to the Audian Portal.
- Click the 9 square button at the top right of the screen.
- Click on the Smart PBX app.