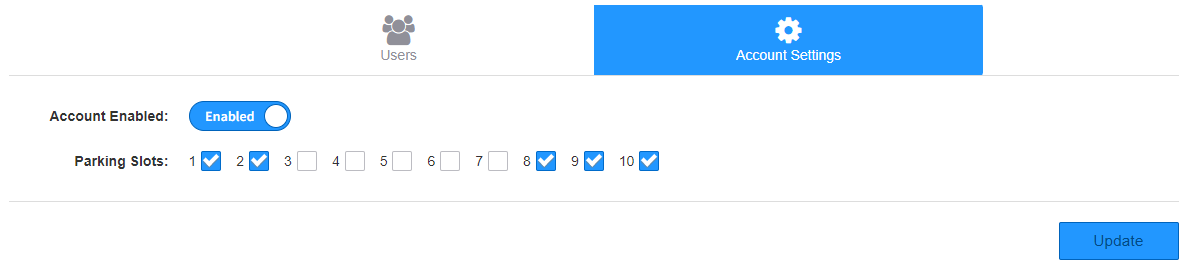
- Click the Users tab at the top.
- Click the Add button.
- Drag and drop the desired users from the left column to the right hand column, and then click Update.
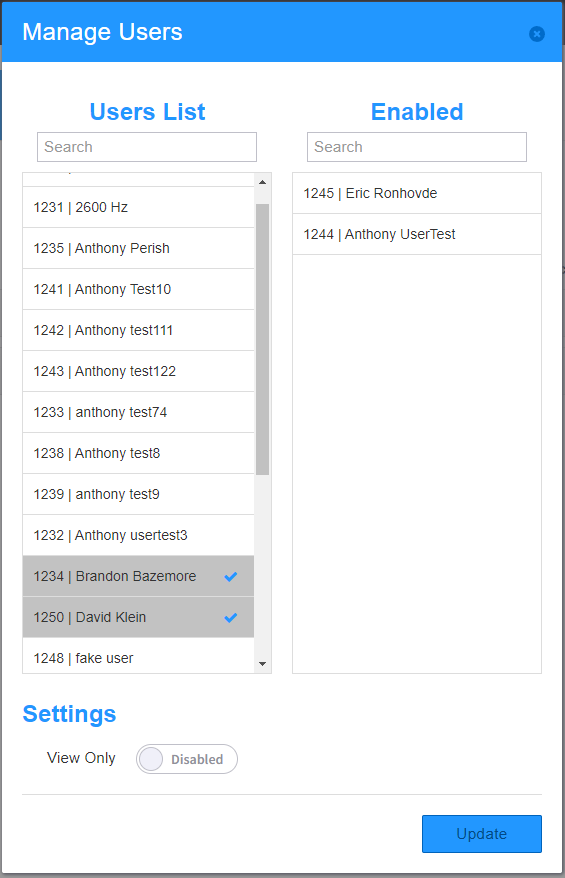 - Note: Toggling View only will create a Presence indicator for the selected individuals. This is used to show people with desk phones as Busy/On Call for other Audian UC users.
- When prompted with the Billable Action alert, click the OK button. Note: Adding View Only users does not increase billing costs on account.
- At this point, assuming View Only is not enabled, the selected users will receive an email to the email address set for them in the Smart PBX application for their extension. This will contain all of the information needed to install the Audian UC app on a Windows/Mac PC or an iPhone/Android device.
Note: This step is only needed when creating an Audian UC device for a new user/extension. Any user that is set as "View Only" will be updated via the "Convert from View Only to Full User" section. This would be for any user that is greyed out in step 3. |