...
...
...
...
Description:
Audian includes a handy dial-by-name directory feature which allows for dialing users by their name. This is useful if callers don't know the extension number of the party they are trying to reach.
This feature is especially useful after-hours, when callers may be trying to reach someone who is still in the office but most other employees have gone home.
Step By Step:
...
Description:
| Tip |
|---|
This article will show you how to do the following. - Setup a Dial-By-Name Directory
|
Methods:
Related Articles:
...
|
| Expand |
|---|
| title | Smart PBX Virtual Receptionist |
|---|
| - Login to the Audian Portal.
- Click the 9 square button at the top right of the screen.
 Image Added Image Added - Click on the Smart PBX app.
 Image Added Image Added - Select Main Number from the left.
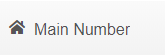 Image Added Image Added
- Select Incoming Call Handling.
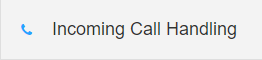 Image Added Image Added
- Click the Virtual Receptionist link.
 Image Added Image Added
- Click Add route.
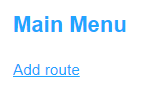 Image Added Image Added
- Click the Press drop-down menu and select the preferred numeric option, then click the second drop-down menu and select SmartPBX Directory.
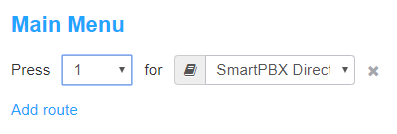 Image Added Image Added
- Note: This is the default directory, this directory will list all users that have the Include User in the Company Directory option checked. Custom directories can be created via Call Flows.
- Set your preferred Greeting, and then click Save.
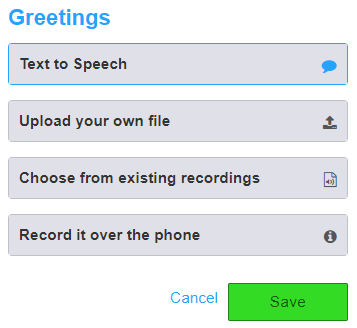 Image Added Image Added
|
|
| Info |
|---|
|
| Expand |
|---|
| title | Custom Directory via CallFlows |
|---|
| - Login to the Audian Portal
- Click the 9 square button at the top right of the screen.
Image Added - Click on Callflows, then click on Callflows once more.
 Image Added Image Added - Select Directory.
 Image Added Image Added - Click Add from the top left.
 Image Added Image Added - Give the directory a name.
 Image Added Image Added - From the Add User section on the right, set the User AND callflow via the drop-down menus, and then click the Add this user to the directory link.
 Image Added Image Added
- Note: A callflow MUST be set, but it does not have to be the default callflow for that user. (Example: A caller wants to talk to the CEO, you can set the callflow to actually ring their assistant by selecting that users SPBX callflow from the menu)
- Once all users have been added to the directory, click Save.
 Image Added Image Added
|
|


